Baot Game Development Workshop
A downloadable game
Welcome to Baot's Codefest game development in Unity workshop
The following page is a step by step guide to programming the game in the workshop, in case you want to continue at home.
The mini-game in this workshop is very basic, with the purpose of giving you a taste of what the engine can do.
After you finish this tutorial you are more than welcome to look up any guides and tutorials online and improve the game and add features to your heart's content.
In fact, I encourage you to do so!
You are welcome to leave any tips, questions and things you discover in the comments bellow. This link is secret and is only available to women who have participated in this workshop, so all conversations are for this group of devs only.
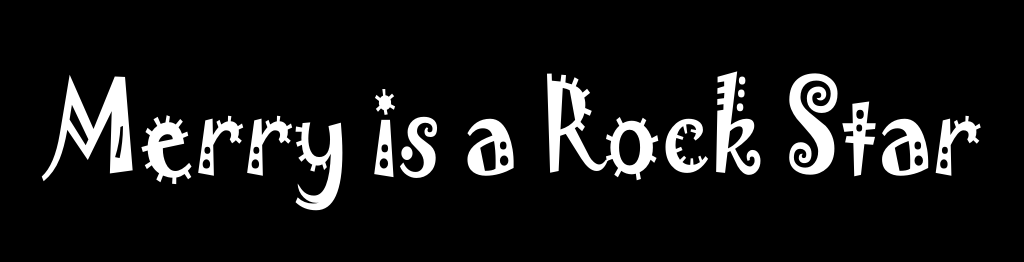
You can find a working version of the game here (click image):
1. Creating a new 2D project
Open Unity Hub and click New at the top right (choose 2019.4.4f if you have several versions). When the dialog box pops up choose a 2D project and select the folder you want on your computer. It is recommended to use a path that contains English characters only.
2. Arranging workspace and project folders
Rearrange the tabs and windows on the screen to suite your preferences. You will need a scene, game, inspector, hierarchy, project and console windows to begin your work. You can save the layout for future use. Under the Assets folder make sure you have Scenes, Scripts, Prefabs, Sounds, Sprites and Animations folders at the very least.
3. Download resources
There are source materials for this game in this link:
https://github.com/chamutalz/BaotWorkshop_MerryIsARockStar/tree/master
The link also contains a Scripts folder if you want to take a look but you don't have to download it as you will write your own scripts.
You don't have to use those specific sounds or art assets. You can download free 2D game assets and free sounds from the internet if you wish.
4. Menu scene background and UI
First, we shell make the menu scene that opens the game. Save the scene as Menu under the Scenes folder and import the art assets into the Sprites folder. Spritesheets should be imported as "multi" and sliced in the sprite editor (found in the inspector).
Place the menu background in the scene and create a UI>>TMPro button. Place the buttons image where it seems appropriate (duplicate the same assets for multiple buttons). Hint: the UI is a separate layer from the scene and can be resized according to screen size (look for it in the inspector of the newly created canvas)
5. Menu behaviour script
Create a new c# script in the Scripts folder (important! if you create it while standing anywhere else it won't be under this folder so make sure to drag it to the correct folder). Create a new empty game object and call it MenuBehaviour. Drag the Menubehaviour script onto the MenuBehaviour object and open it.
This script will contain two functions: StartGame and Quit. Hint: you need to add a using UnityEngine.SceneManagement statement at the top for this.
6. Wiring Menu behaviour in the scene and updating build settings
Make sure the script is saved in the IDE before going back to Unity. Create another scene, called Main in the scenes folder. Open build settings and add both scenes to the window (the first one should be the menu scene). Now you can attach the correct functions to the buttons you've made in the inspector.
7. Main Scene background
Open the main scene and place the background image
8. Create animation
In order to use the spritesheet for animations make sure it is sliced to frames. Drag all the frames into the scene (use Idle animation first). An animation will be created automatically, as well as an animator. Save the animation in the appropriate folder. You can resize it in the scene to suit your needs. Play the game to see the frame rate (you can change it by opening the animation and choosing a different rate).
9. Place the player
Change the name of the animation object in the scene to Player and tag it as such. Add Collider2D to the inspector and resize it as you wish. Attach a player script as well.
10. Player script
This script is responsible for player movement including flipping the sprite when facing the opposite direction and limiting the movement to the edges of the screen. Hint: use Input.GetAxis to read the player's input, use the boolean field flip on the sprite renderer to flip the sprite itself and use Mathf.Clamp to restrict the x axis values.
11. Animator state machine and walk animation
Use the animator to visually see the animation state machine. Drag the walking animation into the window in order to use it (the other animator can be deleted after that) . Transitions can be created from animation to animation. Create triggers in the code to be used when the move() function is called. (Important! Triggers in the code and in the animator should match exactly, Unity is case sensitive).
12. Create audio source and attach audio manager script
Create an audio source in the scene and attach an audio manager script to it.
13. Create game manager and attach script
Create an empty game object and call it GameManager and attach a game manager, UI manager and spawn manager scripts to it. This is the main object that controls the flow of the game.
14. Game manager script
Declare a public audio manager and drag the audio source in the hierarchy to the game manager;s inspector. Declare a public game object for a game over canvas.
15. Background music
Import the sound files into the Sounds folder. Attach the music audio clip to the audio source and check the boxes for loop and start on awake.
16. AudioManager script
Prepare an array of audio clips (in serialized field, so even private it will be exposed in inspector) and PlayClip function that takes in the clip's place in the array and plays it once. In order to populate the array drag the SFX clips in the inspector, the size will change accordingly (you can allocate in advance by setting initializing the array in code)
17. Create game over canvas and attach to script
Create a game over canvas that contains a restart button and a quit button. Make sure the canvas is disabled as a default, to be enabled only when Gameover() is called.
18. Game Over function
This function enables the game over canvas (hint: use SetActive.true) and slows down the game to 0 so that items will stop falling and the player can not move
19. UIManager script
This script is responsible only for displaying the UI, to be called from the game manager. Create DisplayScore text function and DisplayGameOver function, place the score UI in the scene and attach it to the script
20. Restart game in game manager
This function will reset the score, destroy all item instances in the scene (prepare tags for the items) and bring back time to 1 so that the player can move again
21. Add border with a box collider
Create an empty game object and add a 2D box collider. Put it at the bottom and stretch the collider to encompass the whole width of the room. This will be the border to catch all the uncollected items and destroy them so that there will be no excess instances in the scene. Tag it as Border (you need to create a new tag) and check the IsTrigger box.
22. game event system
Create EventsRock script and attach to an empty game object. This should be separate from the game manager, on purpose. Create an event action that takes in a string (will pass in the tag of the item prefab)
23. Item prefab
Create a game object with one of the item sprites. In the Item script attached, create two sprite arrays for cool and lame. Write the code so that on start the object is randomly tagged either Cool or Lame. Then make sure that a sprite is attached according to the tag (three cool images: music note, scull, five point star and three lame images: pink heart, purple heart and bunny). Attach a 2D collider and a Rigisbody2D. In the OnTriggerEnter2D (a Unity function), if the trigger is the player send an event with the correct tag and destroy the item. If the trigger is a border simply destroy the game object. Drag what you've made to the Prefabs folder. This will automatically mark it as a prefab (will appear blue in the hierarchy)
24. SpawnManager script
This script's only purpose is to spawn the item prefab in to the scene according to a timer. Hint: use Instantiate for the spawning and Time.time to count from the beginning of the game
25. CachItem function in game manager
This is where the magic happens. The actual meat of the player's experience. First, register the game manager to the event you created in the event system in the Start method as the catch item function. You can use OnDisabled method to unregister events as a safety measure. Now create a catch item function that takes in the tag and increments or decrements the score as well as calls the play clip method with the correct SFX from the audio manager. In the update method create a condition for game over (for example, score == -1). When this condition is met the GameOver() function should be called
26. Open builds folder and build game
Create a new folder outside of Unity (you can put it in the project or anywhere else on your computer, as long as the path has English only characters. Go to build settings, make sure you are on the correct platform and click build. When the window pops up choose the correct folder. This may take a few minutes.

Leave a comment
Log in with itch.io to leave a comment.